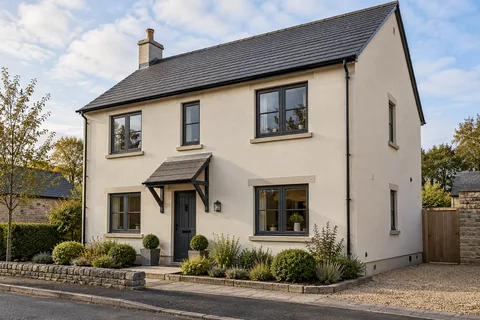
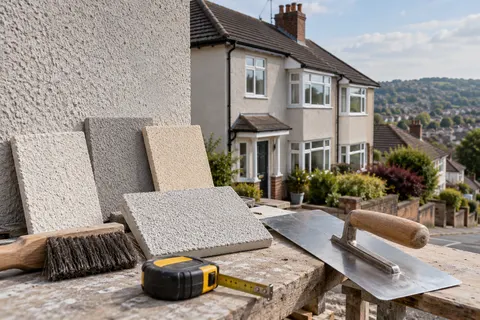
Whole-house rendering
House Rendering Sheffield: Re-rendering the Whole Property
A whole-house re-render takes every elevation back to a sound background and builds a new render system over it, normally from one scaffold. It is the right job when the old render is failing on more than one face, when years of patching have left the house looking piecemeal, or when you want one finish around the whole building. It is also the point at which planning and Building Regulations start to matter in a way they never do for a patch.

On this page
What a whole-house job actually changes
On a whole house, each elevation is judged on its own before anything comes off. A front that sounds drummy when tapped and is cracked under the bay is usually stripped back to the brick or block. A sheltered rear wall whose render is still well bonded may be kept as the background for a new system. K Rend's guidance for its own renders is that a failing layer is stripped back until a stable substrate is reached and the wall is rendered out from there, so the decision is about adhesion, not age.
The new build-up depends on the system chosen. A thin-coat silicone finish sits on a polymer base coat that K Rend gives as a nominal 4-6 mm for its HP14 product, with glass-fibre mesh bedded in it, a primer, and then a finish only as thick as its largest grain. A monocouche such as K Mono goes on in one pass to around 17-18 mm and is scraped back to a nominal 16 mm. A stone house may need three coats of lime instead, which Cornish Lime describes as a bonding coat of about 9-12 mm, a straightening coat and a top coat of no more than 5-7 mm. Traditional sand-and-cement render is a scratch coat keyed for the next coat, then a finishing coat, and is usually painted because it is not through-coloured.
A whole-house re-render is the wrong answer when one wall has failed and the others are sound, when the real problem is a leaking gutter or a bridged damp-proof course, or when the house is solid stone that would be harmed by a dense cement render. In those cases the single-wall page or the repairs page is a better starting point.
- Scaffold and protection Windows, doors, paths and planting are covered; downpipes, lights and satellite brackets come off.
- Old finish tested or removed Failed render is removed; the survey decides whether any sound areas can remain within the specified system.
- Masonry repairs and beads Cracked bricks and open joints are repaired; corner, stop and base beads are fixed.
- Base coats Sand-and-cement scratch and float coats, or a manufacturer basecoat with mesh.
- Finish coat A painted, scraped or thin-coat coloured finish, applied in suitable weather.
- Fittings and junctions Fittings are refixed through the new surface; sills, roofline and abutments are sealed.
The usual order of work. The survey and the chosen products decide the actual steps.
Permissions and Part L before the scaffold goes up
Planning rules bite on whole-house jobs. Under the householder permitted development rules, cladding any part of a house with render, pebble dash, stone, timber, plastic or tiles is not permitted development on article 2(3) land, which includes conservation areas and National Parks. Sheffield has conservation areas across the city, and the council notes that High and Low Bradfield are in the Peak District National Park, so the Park authority deals with them. If your house is in one of these areas, ask the planning authority before the scope is fixed, particularly if a bare stone or brick elevation would be rendered for the first time.
Approved Document L counts rendering the outside of a wall as renovating it. Where more than half of an elevation, or more than a quarter of the whole external envelope, is renovated, the guidance expects the wall to be improved towards a U-value of 0.30 where that is technically, functionally and economically feasible, judged on a simple payback of 15 years or less. Re-rendering every elevation exceeds the individual-element test on those walls, so ask building control early whether external insulation is expected. Listed and conservation-area houses, and traditional walls of stone or lime, are treated more cautiously so that the work does not damage their character or fabric.
The order of work around the house
If the front scaffold stands on the pavement, the scaffolder needs Sheffield City Council's permit to occupy the highway. Each face is then worked in the same order, and the finish coat on a face is applied in one continuous pass: K Rend's data sheet for its Silicone TC asks for continuous surfaces to be completed without interruption, working to a wet edge. That is why corners, beads and window lines are used as stopping points rather than the middle of a wall.
Weather sets the pace. The same data sheet asks for at least 5C in the air and on the wall, no strong sun or wind, no damp or frozen backgrounds, base coats left at least 14 days and primer given 24 hours before the finish. On a house that is worked elevation by elevation through a Sheffield autumn, sheeting on the scaffold and a winter pause are normal parts of the programme.
Scaffold every elevation; take off dishes, lights, alarm boxes and downpipes; protect glazing, doors and paving.
Sound each wall and hack hollow, cracked or crumbling render back to masonry or a firm edge.
Repair masonry, fill open joints and dub out deep hollows so the base coat is an even thickness.
Fix a bell-cast bead above the damp-proof course, angle beads on corners and stop beads at retained brick, stone and frames.
Apply the base coat with mesh bedded in it, adding extra mesh at the corners of windows and doors.
Prime and apply the finish one elevation at a time, each face to a wet edge.
Refit fittings on stainless brackets, strike the scaffold and make good the ground.
Details that fail on whole-house jobs
The base of the wall is the most common failure. Render carried down over the damp-proof course, or a path raised to meet it, lets ground moisture past the barrier; the RICS consumer guide asks for paths two bricks, about 150 mm, below the DPC. Catnic's bell-cast bead gives the render a drip edge at DPC level so rain falls clear. At the top, new render needs a neat stop under the eaves and verge. Old sills often project too little once a thicker render goes on: Ibstock’s note on NHBC’s 2025 cast-stone details puts the drip at least 40 mm beyond the render face on the NHBC-registered new homes covered by that standard. An existing house needs a sill detail suited to its proposed wall finish. On a semi or terrace, a stop bead forms a clean line at the party wall where your render meets the neighbour's.
Afterwards, K Rend's maintenance advice is to wash render after a few years with a fan nozzle at low pressure, working top to bottom, and to treat algae on damp, shaded walls with a biocide. Brackets refitted to the new render should be stainless so rust does not stain it. Keep a note of which walls were stripped and which were overlaid.
Common questions
Does every wall have to be stripped for a whole-house re-render?
No. Each elevation is sounded and inspected. Render that is well bonded and flat can sometimes be kept and overlaid with a compatible system after cleaning and priming; hollow, cracked or crumbling render comes off. A house can end up with different preparation on different faces under one finish.
See housing and planning information for Sheffield and nearby places, including the source and geography behind each figure.